Written by ShutterLand, a U.S. exterior shutter specialist with over two decades of hands-on experience in shutter measurement, material selection, finish options, and installation for residential homes and commercial properties.
A year ago I often sounded like Jimmy Stewart all winter. Well, not really Jimmy, but his character George Bailey from It’s a Wonderful Life. “I don’t know why we all don’t have pneumonia. Drafty old barn! Might as well be living in a refrigerator …” Almost daily I would mutter this same grumpy sentiment. Off I set on a quest to best seal and insulate my home from top to bottom.
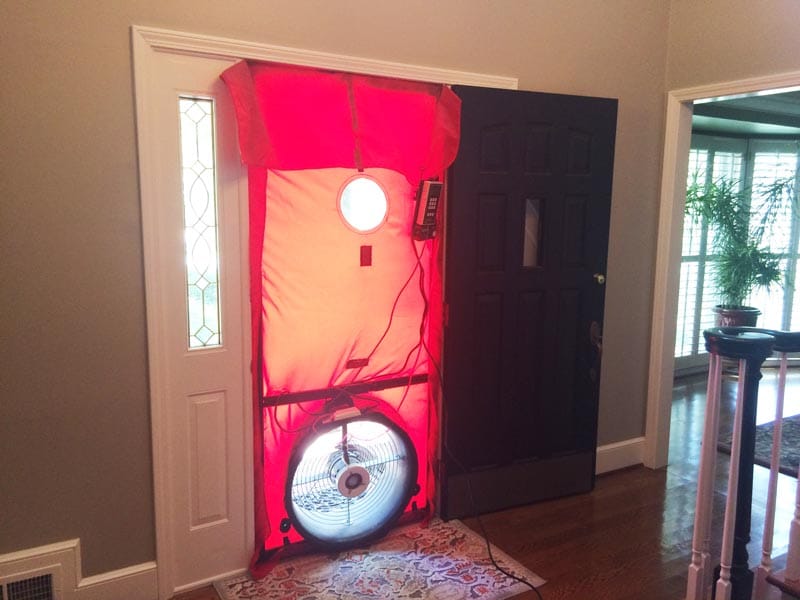
1. Conduct a Blower Door Test
An initial home energy audit was conducted to determine the areas of greatest concern. Both a blower door test and an infrared scan were conducted to provide a baseline measurement to compare to the same analysis after improvements are made. A blower door test determines how much air filters in or out of the home. To conduct the test, the front door is temporarily replaced with a covering that incorporates a high-powered fan and an air pressure gauge. The fan pushes air out of the house to lower the air pressure inside. The higher outside air pressure then infiltrates the available unsealed cracks, resulting in a measurable Cubic Feet of Air per Minute calculation.
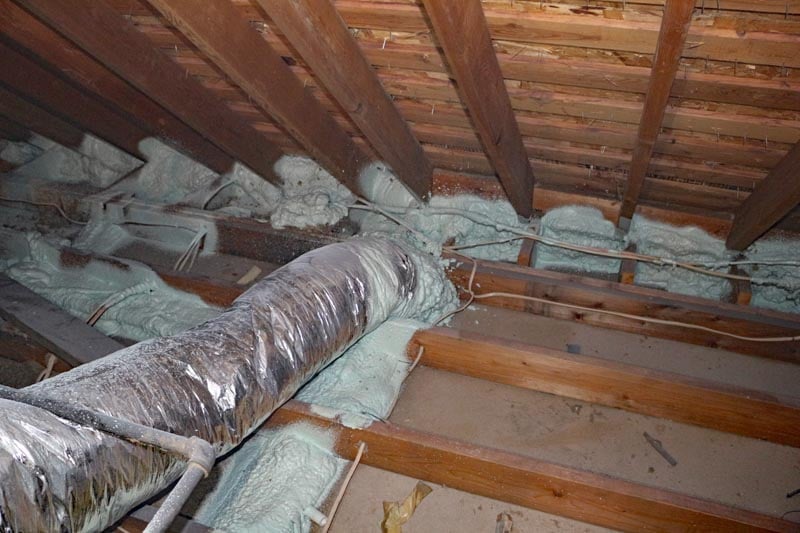
2. New Attic Insulation
I logically started in the attic, where the insulation was more than thirty years old. Simply adding an additional layer to the existing R-20 fiberglass would have only slightly increased efficiency. The R-value is a measurement of how much a material resists the conductive flow of heat. A higher R-value indicates better insulation. So I had it all removed.
The empty attic exposed obvious opportunities for unconditioned air to seep into the livable space. The HVAC mainline trunk, can lights, wall joints, and other cavities were professionally spray foamed for increased insulation and reduction of air transfer. Then, like a blanket of snow, sixteen inches of R-55 cellulose was blown throughout the attic, completing the most costly and time-consuming task. Sure, it will take some time to recoup the costs of this procedure, but we will be more comfortable as we wait.
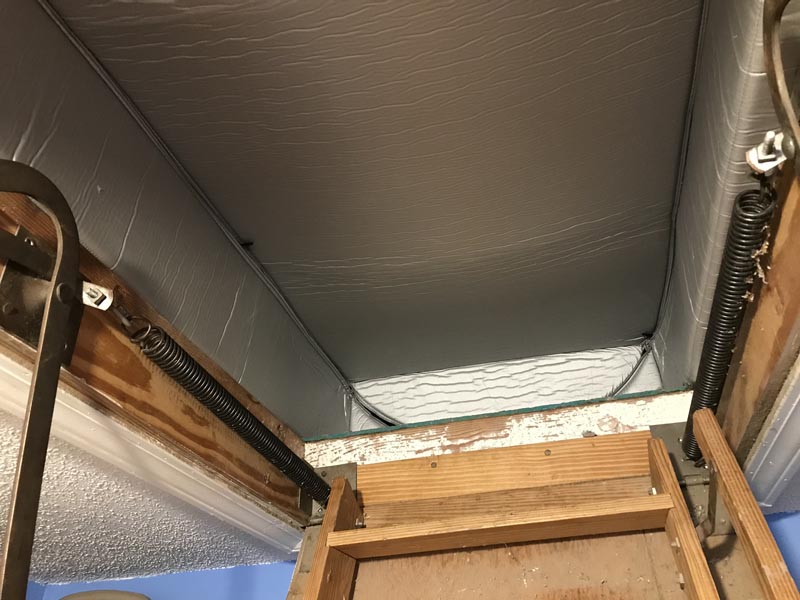
3. Attic Stair Tent Insulation
Two gaps between the attic and the rest of the house still needed
to be insulated: the plywood dropdown staircase and whole house fan. Both
projects were easily accomplished by this DIY homeowner and significantly
improved vulnerable areas.
An attic stair tent cover was installed just above the drop-down stairway. It secured painlessly with staples and caulk between surfaces. The incredibly thin material fully unzips for access and closes for an almost air-tight barrier.
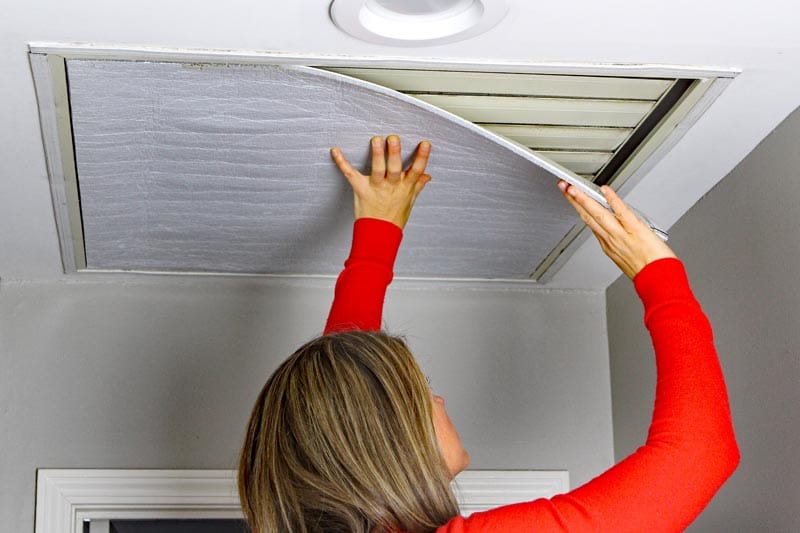
5. House Fan Thermal Cover
The whole-house fan was also addressed with an ultrathin magnetic cover.
The thermal barrier can be quickly applied or removed from the finished space for
use of the attic fan on temperate days.
6. New LED Low-Heat Lighting
Because the recessed lights were encased from above, we could no longer use standard or fluorescent lights. All incandescent bulbs were replaced with low-heat-generating retrofit LED lights. LEDs are about 90% more efficient than incandescent light bulbs and generate significantly less heat. I also discovered when replacing bulbs in other can lights around the house that there were large gaps between the can fixture and the drywall. The separation allowed treated air to pass to space behind the drywall. Sealing those voids with caulk or spray foam will reduce unwanted air transfer.
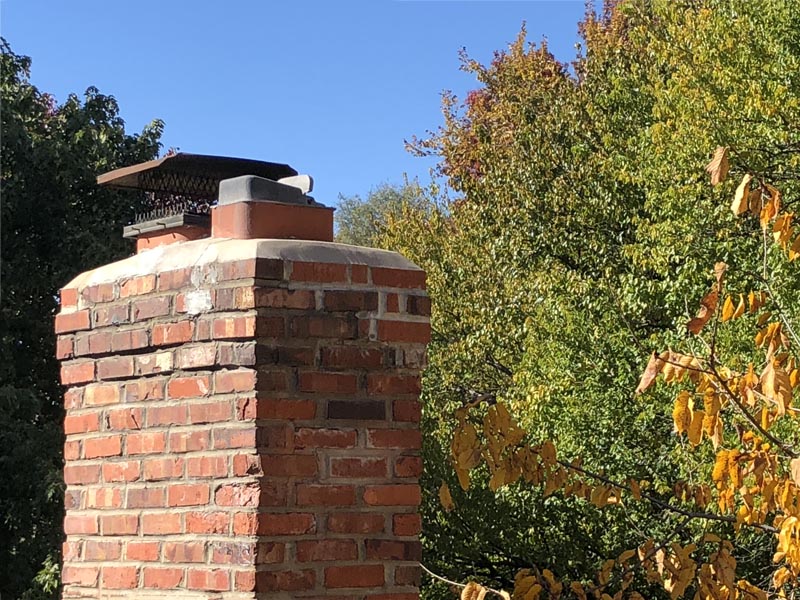
7. Reduce Chimney Draft
The fireplace had long been a point of frustration. While a lit fireplace creates a cozy ambience, it also pulls more warm air out of a home than it provides. When not in use, the cast iron damper does not seal completely and has an effective R-value of zero. To make matters worse, I have two fireplaces, one on the main floor and one in the basement. I discovered the damper on one stack was not working properly, while the other could not be closed. I employed a chimney professional to repair the first and install a new functional damper on the second. The results were immediately evident, and heat loss through the fireplaces is no longer a concern.
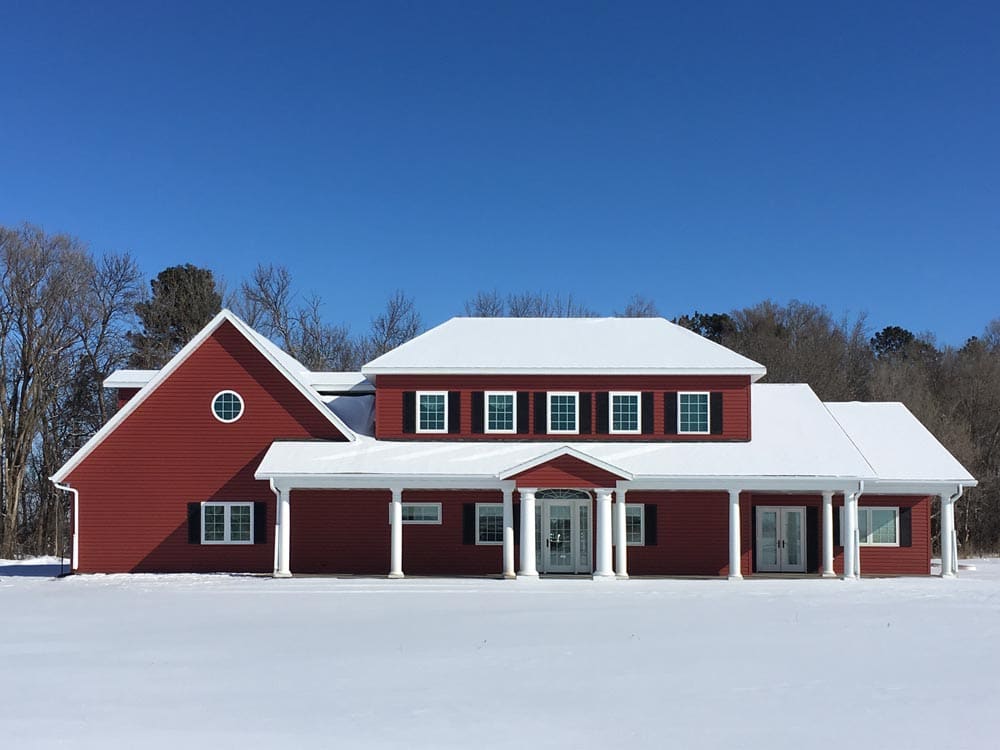
8. Add Window Shutters
New windows were installed several years ago to replace the inefficient single-pane originals. I’ve inspected potential gaps in the window framing and window seals. I finally got around to installing interior plantation shutters to regulate daylight. On East or West-facing windows, I open the louvers during the day to allow sunlight to naturally heat the rooms. In the summer, I rotate the louvers shut to prevent the same. Although not air-tight, fully closed interior shutters can also provide an additional barrier between inside and outside temperatures.
Functional exterior shutters can also be effective in the regulation of house temperature. In summer months, the shutters can swing over a window to intercept direct sunlight before it enters the home. Bahama shutters are extremely effective at shading windows in coastal and tropical environments. All louvered style exterior shutters promote cooling breezes on temperate days when windows can be opened.
The perimeters of many exterior doors were unmistakably porous.
The base threshold and weather stripping had become worn and ineffective over
the years. Replacing both resulted in an immediate and obvious difference.
Frigid winter air no longer lurked around the foyer and back door.
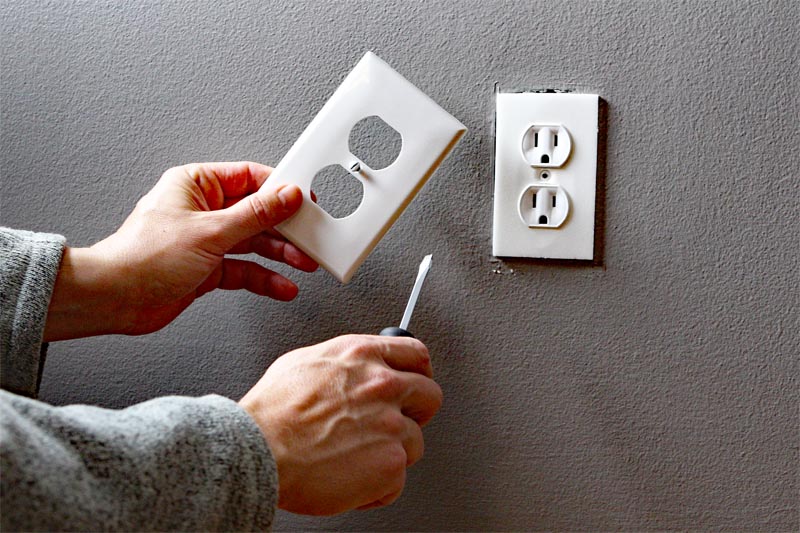
10. Insulate Outlet Gaps
I also discovered that outlets along exterior walls can slowly leak unwanted air. I purchased a large package of thin foam outlet insulators online. I then removed the outlet plates, caulked between the drywall and electrical box, and replaced the cover with the gasket. While it may not make a big difference, every little bit helps.
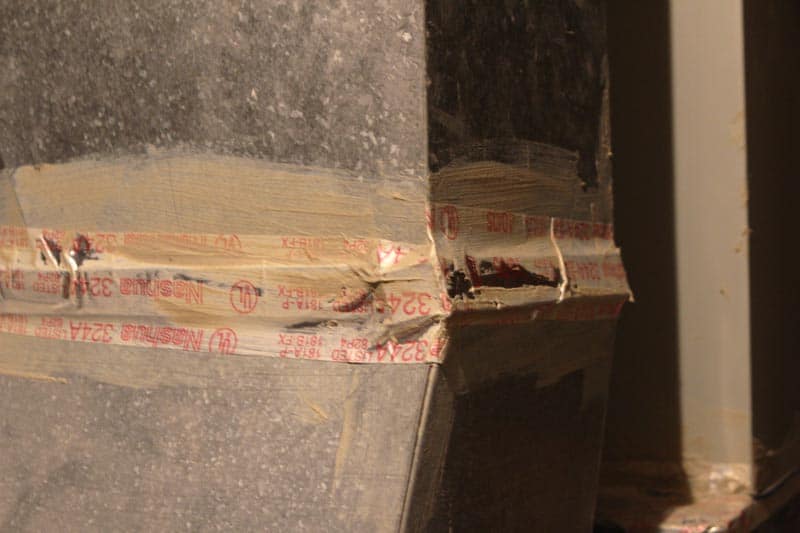
11. Seal HVAC Ducts
Close inspection of the basement furnace revealed unsecured seams
in the base unit and ductwork. These open
joints release treated air into unfinished spaces and not to the planned
destination. Aluminum tape is commonly used to secure these areas, which
integrates well with the appearance of the system. I discovered duct mastic, a wet
plaster-like substance, covers thoroughly and dries solid to prevent air
transference. The application of mastic is a dirty job if you are determined to
reach every leak possible, but the end result is rewarding. Unfortunately, I
was not able to completely cover joints in the finished areas of the house, because
the ductwork is simply not accessible.
12. Redirect HVAC Vents
I examined all HVAC vents to ensure they were open and dispersed air was not being wasted. In some cases, air was being ushered directly into coat closets or under couches. I bent the slats of the registers to blow into the open room. Some vents required plastic deflectors to shepherd warm or cool air more directly to target locations.
The post blower door test revealed a 24% reduction in air leakage, which I consider a huge success. I will continue to locate additional avenues for outside air to penetrate the home. For now, it is time to kick my feet up and enjoy my comfortable home.