How to Install Outdoor Aluminum Bahama Shutters
Installing Bahama aluminum exterior shutters is a straightforward process. Follow this step-by-step guide to ensure a secure and proper installation.
Before You Begin
This guide is the second in a series, following our instructions on measuring for aluminum exterior hurricane Bahama shutters.
What You’ll Need:
- Phillips head screwdriver
- Drill and appropriate drill bits
- Impact driver (recommended)
- Socket wrench (if using a standard drill)
- Corrosion-resistant self-drilling screws (e.g., #14 roofing screws) or fasteners for brick installations (e.g., ¼-inch Tapcon concrete anchors)
Step 1: Inspect and Prepare
Upon delivery, unpack and inspect the shutters to ensure they arrived undamaged. The top hinge will already be attached to the shutter.
Before installation, hold the exterior shutter up to the window to determine the ideal placement and hinge position.
Step 2: Remove the Top Hinge
Each hinge joint has cap screws at both ends. Using a Phillips head screwdriver, remove one cap screw and slide the top portion of the hinge away from the Bahama shutter.
Step 3: Mark and Drill the Hinge Holes
Since mounting screws are not included, choose screws based on your specific project.
To determine the number of screws needed, divide the width of the hinge by 8 and round up.
- Mark the first two screw holes 1 inch from either end of the hinge header.
- Space the remaining holes equally along the length of the hinge.
- Drill each marked hole using a 9/32 inch drill bit or one slightly larger than your selected screw shaft.
Step 4: Attach the Hinge to the Window Frame
- Hold the hinge header at the top edge of the window.
- Secure the far right screw first. If drilling into siding, you may need to create a pilot hole.
- Tighten the screw with a socket wrench.
- Level the hinge and install the far left screw.
- Fasten the remaining screws.
Step 5: Reattach the Shutter
Slide the shutter back into the top hinge and reinsert the cap screw.
Step 6: Install the Camel Brackets
- Position a camel bracket about ¼ inch from the lower edge of the shutter, ensuring the bubble hole is on the opposite side of the shutter.
- Align the holes so the locking pin can pass through both the bracket and the shutter.
- Secure the bracket to the wall using the same screws used to secure the top hinge.
- Repeat the process on the opposite side.
Step 7: Attach the Support Poles
- Insert two nylon bearings into the opposing holes on the larger end of a corrugated extension support pole.
- Insert the stainless-steel screw through the support pole and tighten it into the shutter hole.
- Repeat on the opposite side.
Step 8: Secure the Shutter in Place
- Align the lower support pole holes with the camel bracket.
- Insert the locking pins, but do not connect the shutter yet.
- Lift the shutter to extend the support poles.
- Tighten the tension knobs once the shutter is at the desired angle.
Storm Protection Setup
To secure the shutter for storms:
- Release it to hang vertically.
- Use the locking pins to hold it in place.
If installing hurricane-rated Bahama shutters, Z-clamps are included for added protection. Decorative shutters do not require Z-clamps but can use them optionally.
Installing Z-Clamps (For Hurricane Shutters Only)
- Position Z-clamps on either side of the shutter.
- Align with each sub-stile at the bottom.
- Secure with screws.
Optional: Installing Integrated Sliding Pin Latches
Some aluminum Bahama hurricane shutters come with integrated sliding pin latches instead of Z-clamps.
- Allow the shutter to hang vertically.
- Extend a pin latch about ¼ inch.
- Align a camel bracket to meet the pin latch and screw it into place.
- Mark the exact pin location using a dab of lotion or a marker.
- Drill a 9/16 inch hole in the bracket at the marked location.
- Repeat on the opposite side.
- Lower the shutter, slide the pin latches through the locking holes, and tighten.
Note: Shutters with pin latches do not require Z-clamps.
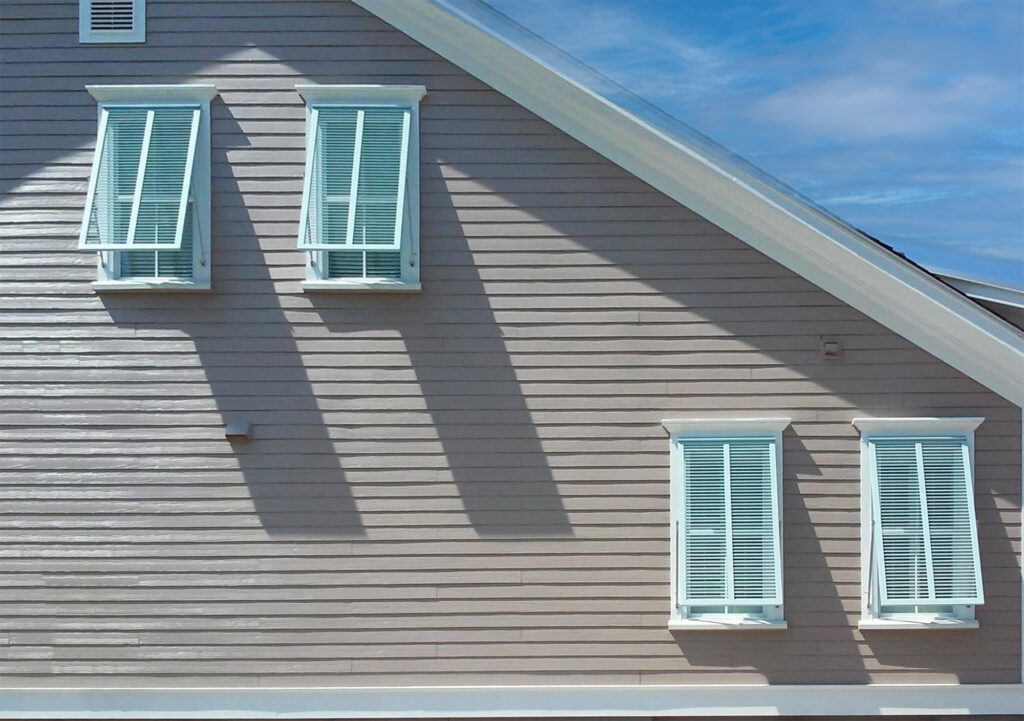
Installation Complete!
Your Bahama aluminum shutters are now securely installed and ready to provide shade, ventilation, and storm protection.